
We are BACK after a major delay! I started a new job and had zero time to upgrade and/or blog.
But now, its time for a blog post close to my heart (not that they haven't all been, this is our first home, after all). When my Grandpa passed away in 2005 I inherited his bedroom set, which had been he and my grandmothers since likely the 60's or 70's (maybe even earlier, its hard to tell, though they looked like they were from that era--maybe my cousins could fill in the details here, if you're reading this Jenny and Amy!). To be 100% honest, before this year I wasn't interested in using the dressers at all because I thought they looked too old and dingy, and even pretty masculine, so they had just been sitting in my parents' basement (BIG shout out to our friends Pat and Amanda for helping us move them over here after a few beers at Three Floyds!). This is before I learned about the wonderful--and relatively easy--world of DIY furniture upgrades!
Here are some before pictures, which are a huge fail on my part. I had my camera all ready to go but then my mom and I (another HUGE shout out to Mom for all her help) got excited and started painting before I remembered to take the pictures. So we halted for a second while I snapped some photos that will have to make do.


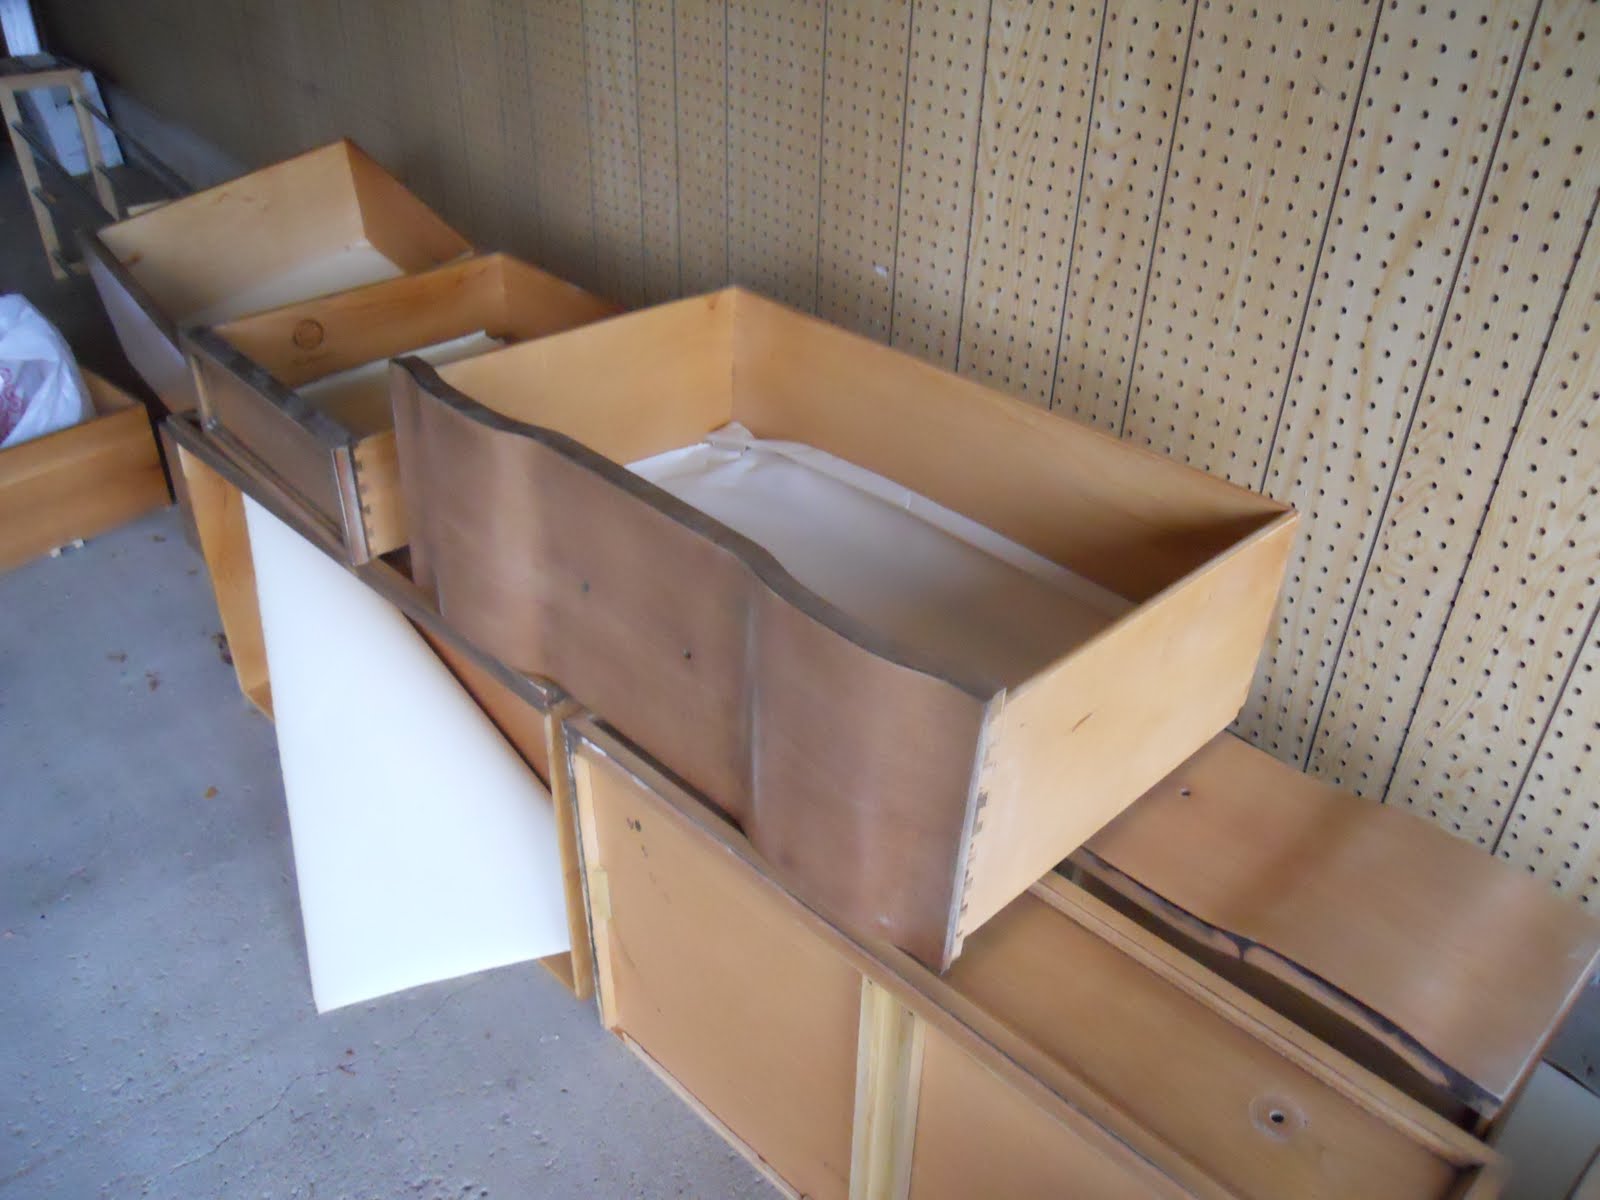

See? Brown, dingy, depressing. Totally hip for the 70s though! Extra bonus? I found some of my grandmother's things in the drawers (she passed away before I was born so it was especially awesome to find pieces of her).
I wanted to keep the dressers' style vintage-y to embrace their (gracefully) aged look. So after some internet research I settled on using Annie Sloan Chalk Paint (extra extra bonus? Dave's mom's name happens to be Ann Sloan, so the name made me smile). Its imported from England and only sold at a few locations in the U.S. I bought mine from Classic Wall Finishes at www.bestfurtniturepaint.com. They are a truly amazing company with amazing customer service. Patty is well known on the DIY blog circuit as an expert in the Annie Sloan line, and when I hit a snag in painting and didn't know how to proceed, I took a chance and called her. She spent 20 minutes on the phone with me explaining what to do and even gave me tons of tips on how to use this truly unique paint.
Here's why its unique--you don't need any primer (DIY geek swoon), it covers all kinds of surfaces, including wood, laminate, and even metal, and once it dries, you can "distress" it with a sanding block to get that vintage look. When the paint is dry, you cover the piece in Annie Sloan's wax to give it a nice sheen and feel. With my mom and I both working, two coats of paint took under two hours to apply. The hard part was the wax, which took probably 3 hours total to apply two coats (I did this part on my own). As Patty explained, you really have to push the wax into the piece and then wipe the excess away. I was legitimately sore the next day. The paint is fairly expensive, about $35 for a quart, but two dressers with two coats each only took about 3/4 of one can.
Without further ado, here are the pictures of the dressers! I ordered knobs from Anthropologie and the vintage looking pulls from www.pullsdirect.com.


 (This next photo most accurately reflects the actual color of the dressers).

Thanks for reading!!! Major upgrade occurring tomorrow: we are painting the kitchen cabinets!
0 comments:
Post a Comment